Running a prediction
This is how you train and run a model on one of your projects. From a project, choose Run prediction and work through the four-step wizard.
| Step | What you do |
|---|---|
| 1. Hyper Parameters | Set the model's training parameters (sensible defaults are pre-filled) |
| 2. Context Parameters | Choose which attributes are conditions and which are labels |
| 3. Run | Launch the run and watch live progress and logs |
| 4. Explore Model | Inspect the trained model, then export it |
Use Next and Back to move between steps.
1. Hyper Parameters
Parameters are split into two cards. Every field is pre-filled with a sensible default, so you can go straight to the next step if you're just getting started.
Rule Parameters
These shape the individual rules the model is allowed to learn.
| Parameter | What it does | Range | Default |
|---|---|---|---|
| Minimum Precision | Minimum precision a rule must achieve to be retained | 0–100 | 70 |
| Minimum Coverage | Minimum proportion of examples a rule must cover | 0–100 | 10 |
| Maximum Support | Upper bound on rule support, to avoid trivial rules | 0–100 | 0 |
| Minimum Number of Conditions | Smallest conjunction size allowed per rule | 1–20 | 1 |
| Maximum Number of Conditions | Largest conjunction size allowed per rule | 1–20 | 3 |
Raising Minimum Precision gives you rules you can trust more, but fewer of them. Raising Minimum Coverage keeps only rules that apply broadly. Tune the two together.
Validation Parameters
These control how the model is evaluated and when it's accepted.
| Parameter | What it does | Range | Default |
|---|---|---|---|
| Number of Runs | How many independent runs to execute | 1–100 | 1 |
| Number of Folds | K-fold cross-validation split count | 2–20 | 2 |
| F-measure Threshold | Minimum F-measure for accepting the model | 0–100 | 50 |
| Precision Threshold | Minimum global precision for accepting the model | 0–100 | 50 |
| Accuracy Threshold | Minimum overall accuracy for accepting the model | 0–100 | 50 |
| Model Size Limit | Maximum number of rules allowed in the final model | 1–5000 | 100 |
| Labels Provided | Whether the dataset already contains labeled examples | on / off | off |
2. Context Parameters
Here you tell the model how to read your data by assigning attributes to:
- Conditions — the "if" side of a rule
- Labels — the outcome you want to predict
- Label Values — the specific values of interest within those labels
Use Add to Conditions and Add to Labels to move attributes across, and the filter box to find an attribute quickly in a large dataset.
3. Run
Launch the run and watch it work. The prediction executes on the server and streams progress in real time.
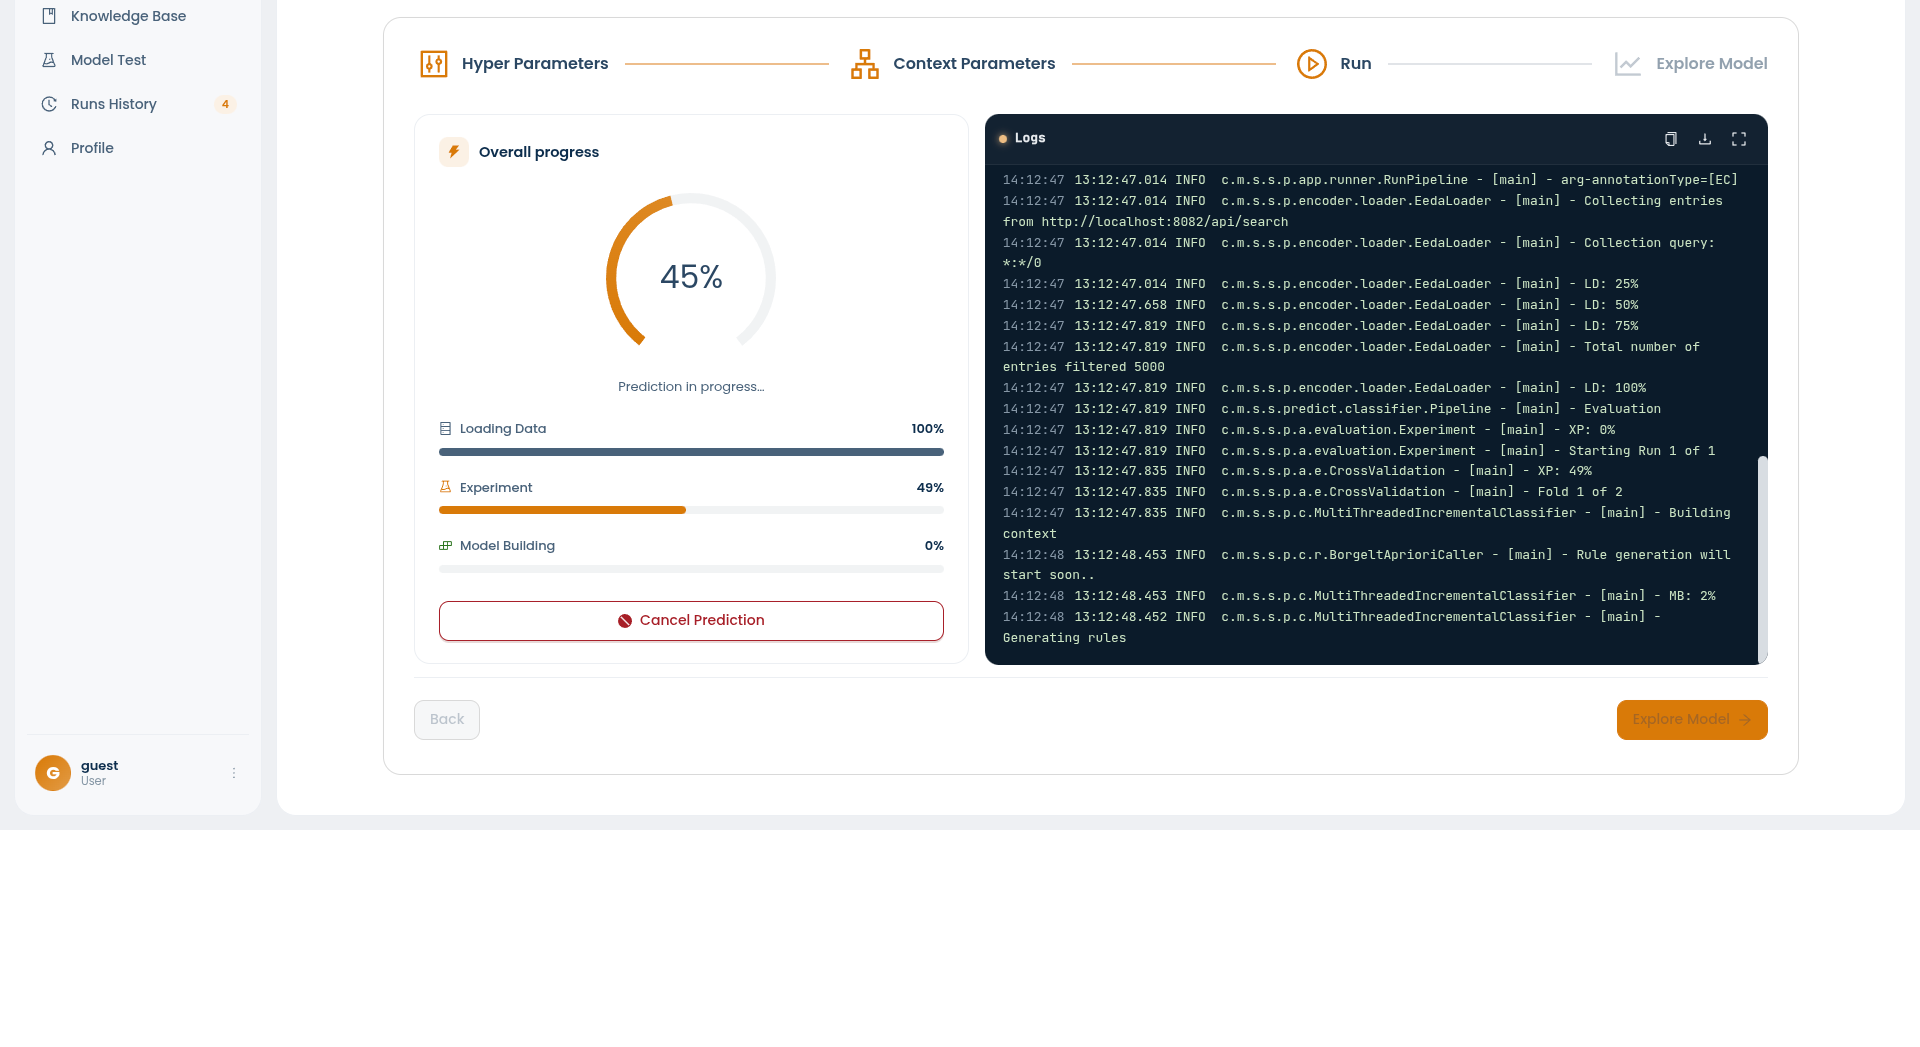
The Overall progress panel tracks three stages:
- Loading Data — reading and encoding your dataset
- Experiment — running the folds of the cross-validation
- Model Building — generating and pruning the rules
Alongside it, the Logs panel streams the run's output; you can copy it, download it, or expand it to full screen. If you need to stop, use Cancel Prediction.
4. Explore Model
When the run finishes, move to Explore Model to inspect the outcome.
- Model Explorer — browse the trained model, switching between a JSON view and a Rules Explorer view.
- Model Quality — opens charts describing how the model performed.
caution
Model Quality needs Number of Folds set to 2 or greater. With fewer folds there's nothing to compare against, and the app will tell you so.
- Export to KBase — promote this model's rules into the shared Knowledge Base.
- Download the model — export as
.pklor.pmmlfor your downstream systems. - New Prediction Run — start again with different parameters.
Every run is recorded in Runs History, so you can always come back to review the parameters you used and the model you got.