Introduction to Skeyenote™
Skeyenote is the notebook workspace of Skeye - Data Factory, built for ad-hoc, exploratory data analysis. It lets you write and run code in multiple languages, mix it with narrative text, and turn results into charts — all inside a single, shareable notebook.
Typical use cases:
- Exploring a dataset before building a production pipeline
- Prototyping a query, a transformation, or a model
- Writing a data narrative that combines code, results, and commentary for a colleague or a stakeholder
Signing in
Your Skeyenote account is created by an administrator, who gives you a username, a password, and one or more roles. Roles determine which notebooks and admin features you can access.
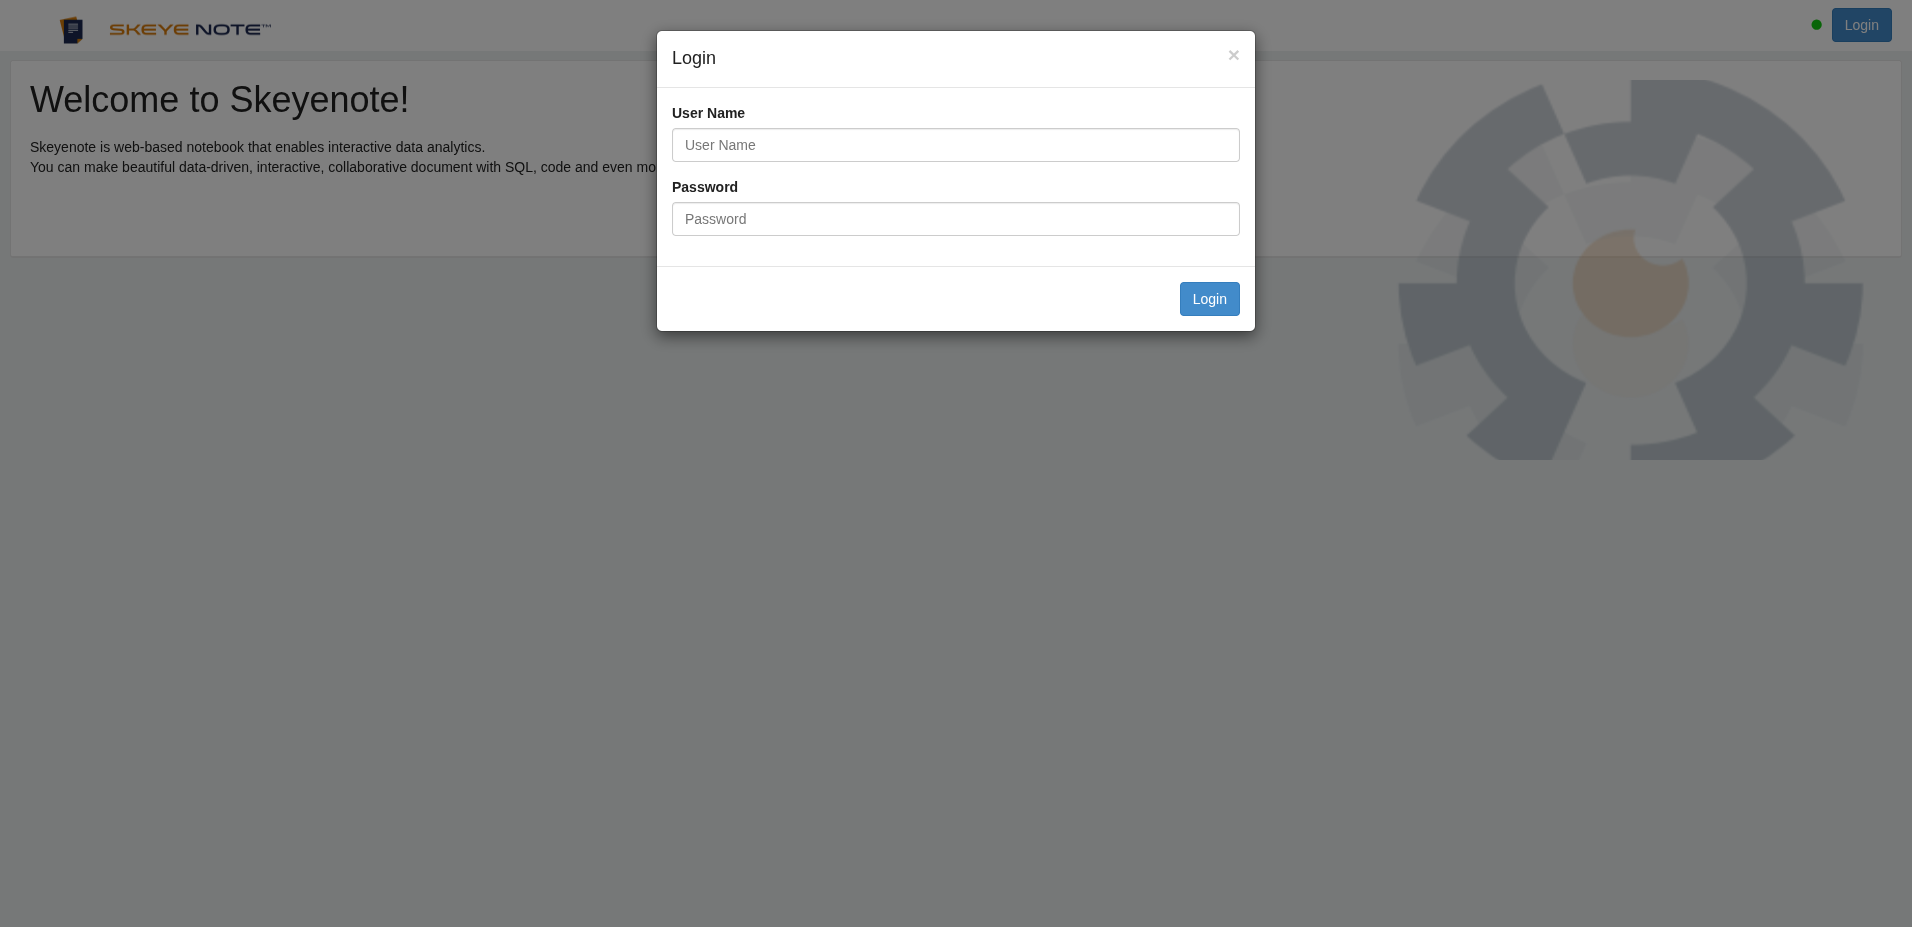
Open the Skeyenote URL provided by your organization and sign in with your username and password.
The workspace
After signing in you land on the home page. From here you can:
- Create a new notebook from the Create new note action
- Import a notebook from a file with Import note
- Browse existing notebooks in the note tree, where notebooks can be grouped into folders
- Filter the tree by name, or search across notebooks and paragraphs from the top bar
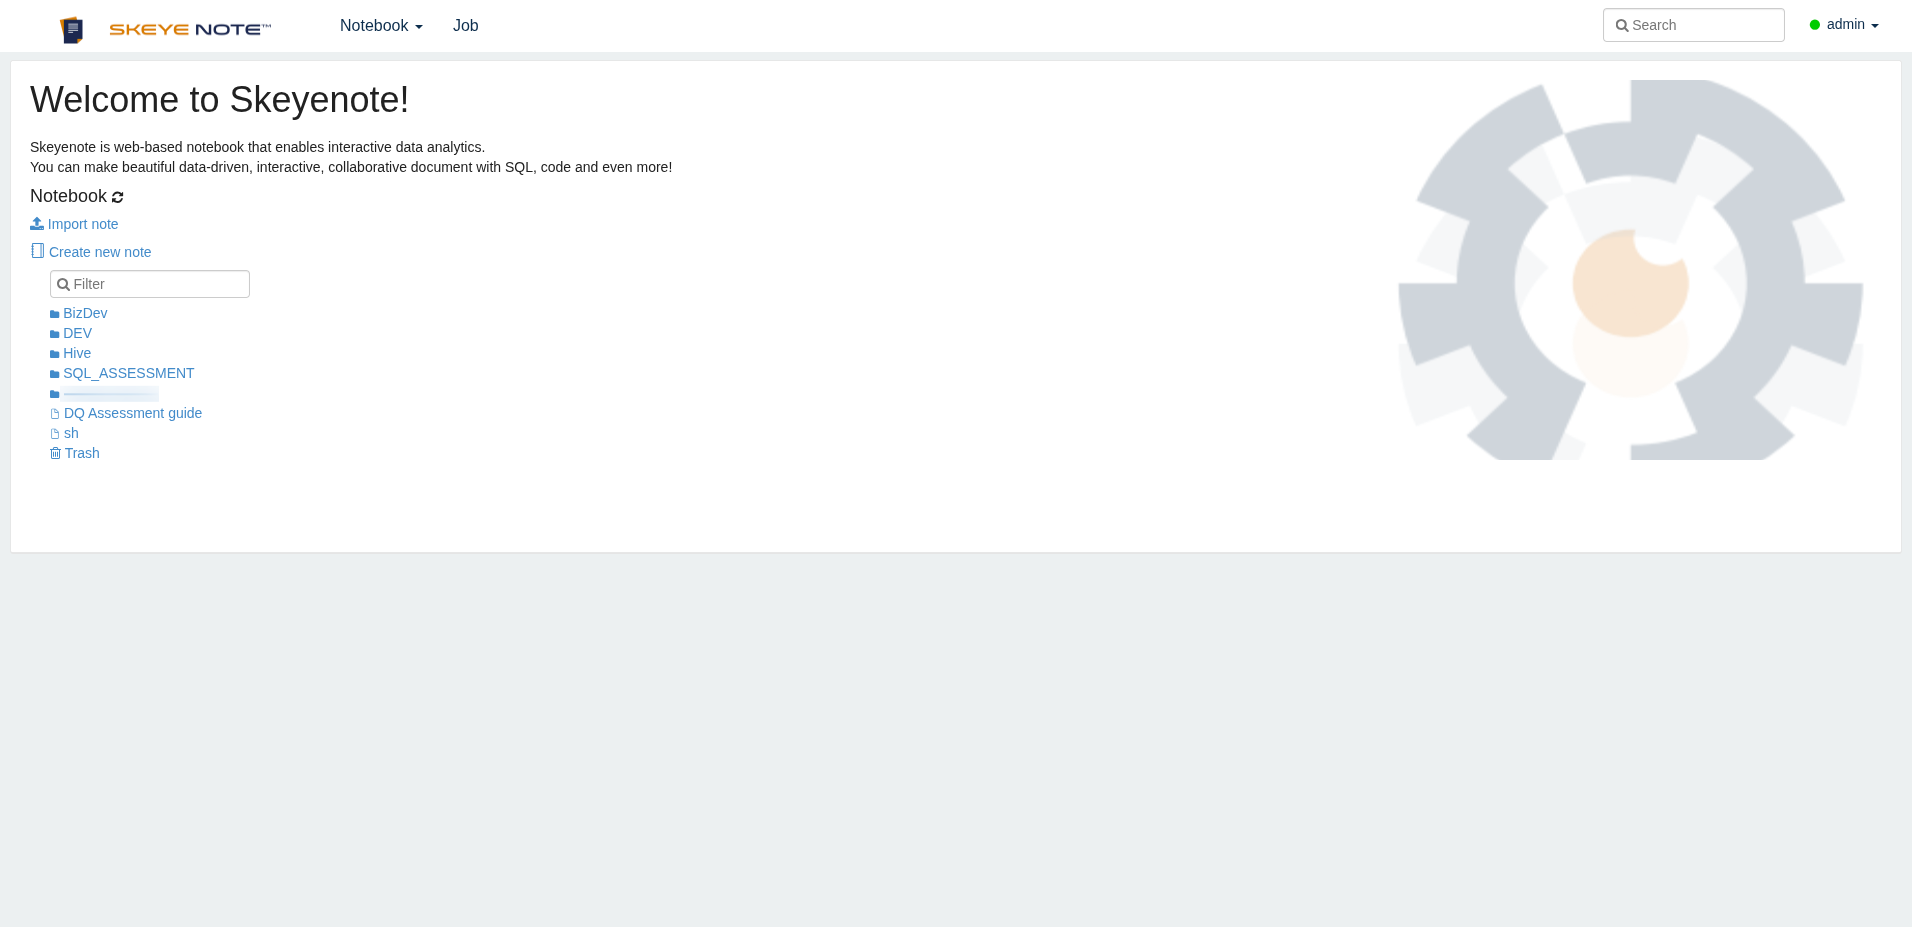
Deleted notebooks go to Trash, and the Job menu in the top bar lists your running and past jobs.
Notebooks and paragraphs
A notebook (or note) is an ordered list of paragraphs. Each paragraph is an independent unit that contains:
- an optional interpreter binding on its first line (for example
%pythonor%md), which selects what runs the paragraph's content — see Interpreters - the code or text itself
- the result produced after running it (text, a table, a chart, or an error)
Run a paragraph with the run button on the paragraph toolbar, or with Shift+Enter from inside it. Paragraphs run independently, so you can re-run just the one you edited instead of the whole notebook.
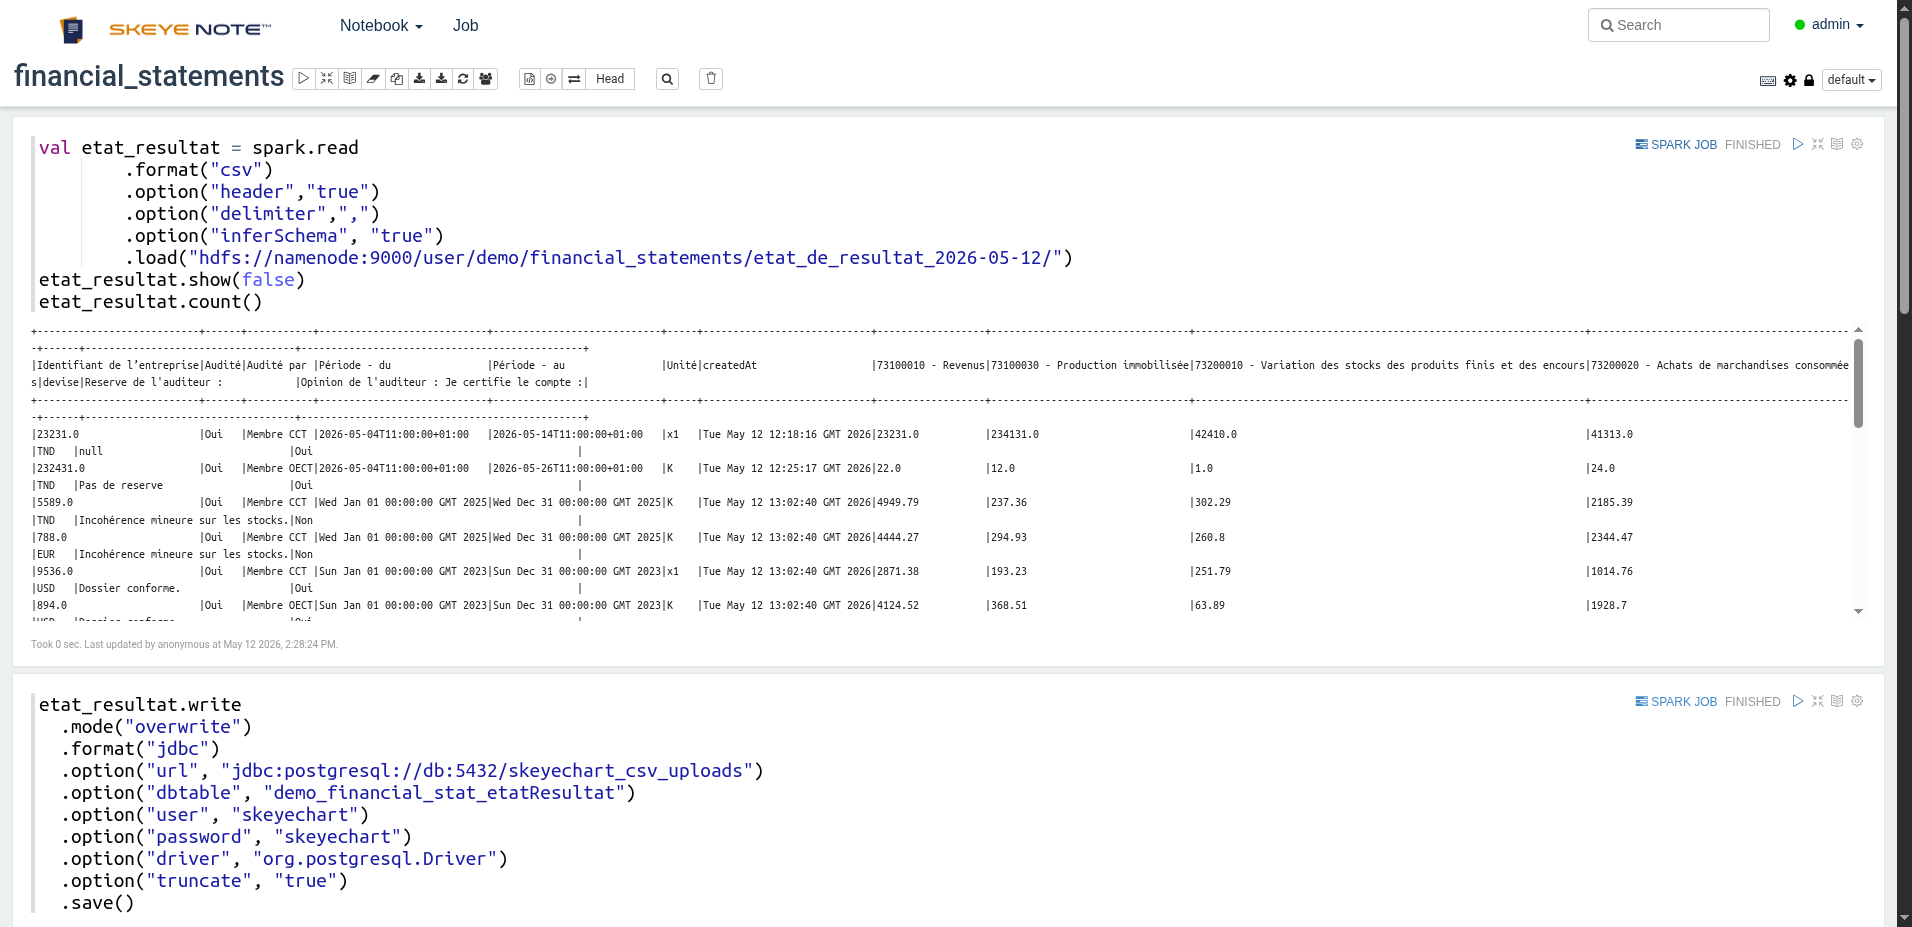
In the notebook above, the first paragraph reads a CSV file into a Spark DataFrame and displays it — the result table appears directly beneath the code, with a note of how long it took and when it last ran. The second paragraph writes the same DataFrame out to a database. Each paragraph shows its own run controls and status on the right.
The example above passes a database password inline for brevity. In real notebooks, keep credentials out of paragraph code — notebooks are shared, exported, and easy to screenshot. Use a configured interpreter with the credentials set at the interpreter level instead.
Your first notebook
- From the home page, create a new notebook and give it a name.
- In the first paragraph, write a short introduction:
Run it — Skeyenote renders the Markdown as formatted text.
%md
# Sales exploration
Quick look at last quarter's numbers. - Add a second paragraph and switch to a language of your choice, for example:
Run it and see the output appear directly below the paragraph.
%python
print("Hello, Skeyenote!") - Keep adding paragraphs to explore your data, and use the chart switcher on any tabular result to visualize it (see Visualizing results).
Where to go next
- Interpreters — the languages and data sources you can use in a paragraph
- Visualizing results — turning tabular output into charts
- Sharing & permissions — giving colleagues access to your notebooks